Solar Patio Light - Powerful, Energy-Efficient Outdoor & Indoor Lighting
✓ Indoor & Outdoor Use✓ Energy-Efficient Design✓ Powerful Illumination✓ Perfect for Patios✓ Solar Powered
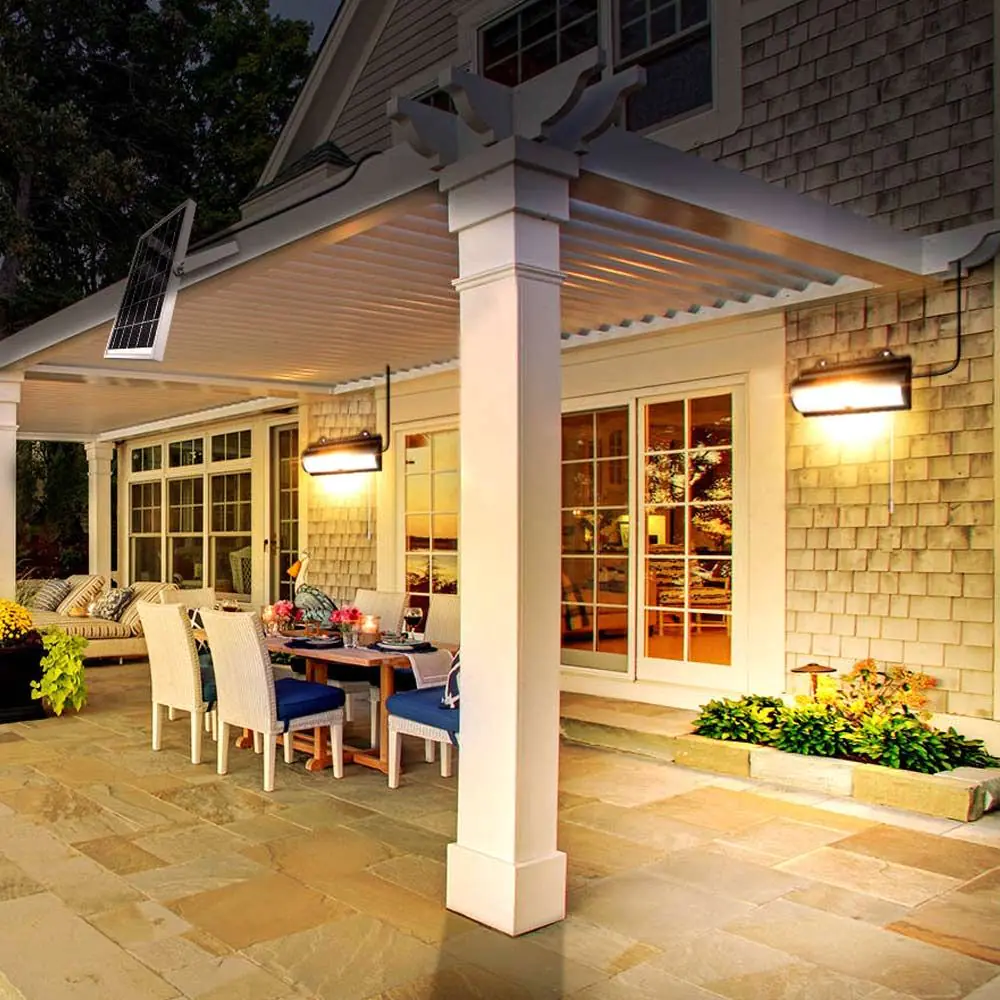
Transform your outdoor space with the PowerBee® Solar Patio Light. Perfect for patios, gardens, and entertainment areas, this powerful lighting solution combines bright illumination with hassle-free solar power. Whether you're hosting evening gatherings or need reliable pathway lighting, our dual-head system delivers exceptional performance in any setting.
Essential Lighting Features
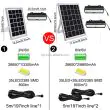
Worried about brightness and reliability? Our patio light system delivers mains-equivalent illumination without the electrical bills. The dual light heads provide wide coverage for your entire patio area, while the flexible 5-meter cable ensures you can position the solar panel in the optimal sunlight location.
Powerful Illumination
1600 lumens total brightness
35 Super Bright LEDs per head
Equivalent to 120W traditional bulbs
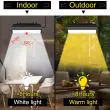
Crisp white 6000K light output
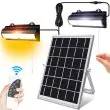
Smart Controls
Convenient remote control operation
Built-in motion detection sensor
Easy-access pull cord switch
6 adjustable brightness levels
All-Weather Performance
IP65 weatherproof rating
8-12 hours runtime per charge
Year-round operation
Zero running costs
Don't worry about complex setup - our patio lights are designed for easy installation with included mounting hardware. The weatherproof construction means you can leave them installed year-round, while the remote control lets you adjust settings from the comfort of your seat.
Installation & Versatility
Concerned about installation? Our simple keyhole mounting system makes setup a breeze. The generous 5-meter cable allows you to mount the solar panel in the sunniest spot while positioning the lights exactly where you need them. Perfect for covered patios - you can install the lights under your roof while the solar panel captures sunlight efficiently.
Easy Installation
Simple keyhole mounting system
All hardware included
No electrician needed
Flexible positioning options
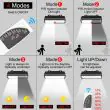
Versatile Operation
Four lighting modes
Motion-activated options
Dusk-to-dawn setting
Manual override available
Solar Efficiency
6W polycrystalline panel
High-capacity batteries
Winter-ready charging
Long-term reliability
Whether you're lighting a covered patio, garden seating area, or outdoor kitchen, these lights adapt to your needs. The combination of powerful illumination, flexible installation, and reliable solar charging makes this the perfect solution for any outdoor space. Plus, with zero running costs and maintenance-free operation, you can enjoy your well-lit patio without any ongoing expenses.
Experience the Difference With PowerBee Ltd
Award-Winning Quality
Powerbee Ltd is a Which? Best Buy Award Winner 2021-2025
16 Years of Solar Power Expertise
CE Certified Products
Professional Support Within 24 Hours
Customer Protection
30-Day Money-Back Guarantee
12-Month Standard Warranty
Free UK Mainland Shipping
Support Hotline: 07786948899
✓ 30-Day Money-Back Guarantee✓ Free UK Delivery✓ Powerbee : A Which? Best Buy Award Winner 2021-25
Rate this product
100%
5/5
(1) Reviews
Please rate this product, describe its advantages and disadvantages, please share your impression about its use
PowerBee ® Solar All Night Light 36 Superbright LED's : Impressed!
I have these at my stables in the middle of nowhere!
they are great, they really work...
I would defiantly recommend this product to anyone who has no electricity handy or simply want to be greener...
Two thumbs up from me